So today, we are going to walk you through the process of making a little pumpkin. These are the tips and techniques that you would use to make dolls, or other things out of muslin, and then paint. This is the nearly finished pumpkin, so you get an idea of the finished, well almost, product.
Take a circle, the bigger the circle the bigger the pumpkin, and trace it onto paper.
Here, we have placed a single layer of muslin over top of your pattern, and you can see the circle through the fabric.
Trace around your circle, on the fabric, with a marker, pencil, whatever you can see.
Pin to another piece of muslin. Sew around your pencil line, you can hand stitch or machine sew.
Cut around your circle, leaving a 1/4" allowance, all the way around.
Next you are going to clip around the edge, every 1/2" or so, being careful to NOT cut your sewing line. This will help your circle to look like a circle, when you turn it right sides out.
Since we have sewn completely around the circle, we need to make an opening for turning. Seperate your circles, you want to only cut 1. Cut a small slit in it, this will become your back, and turn your circle through this opening.
So here is our circle with the slit, to the back. Now stuff your pumpkin, as stiff as you want it, this should be pretty tight, we don't want whimpy pumpkins!
After it is stuff with polyfil, you can hand stitch the opening closed. Try to do this neatly, but remember it will be on the bottom of your pumpkin, so don't stress to much.
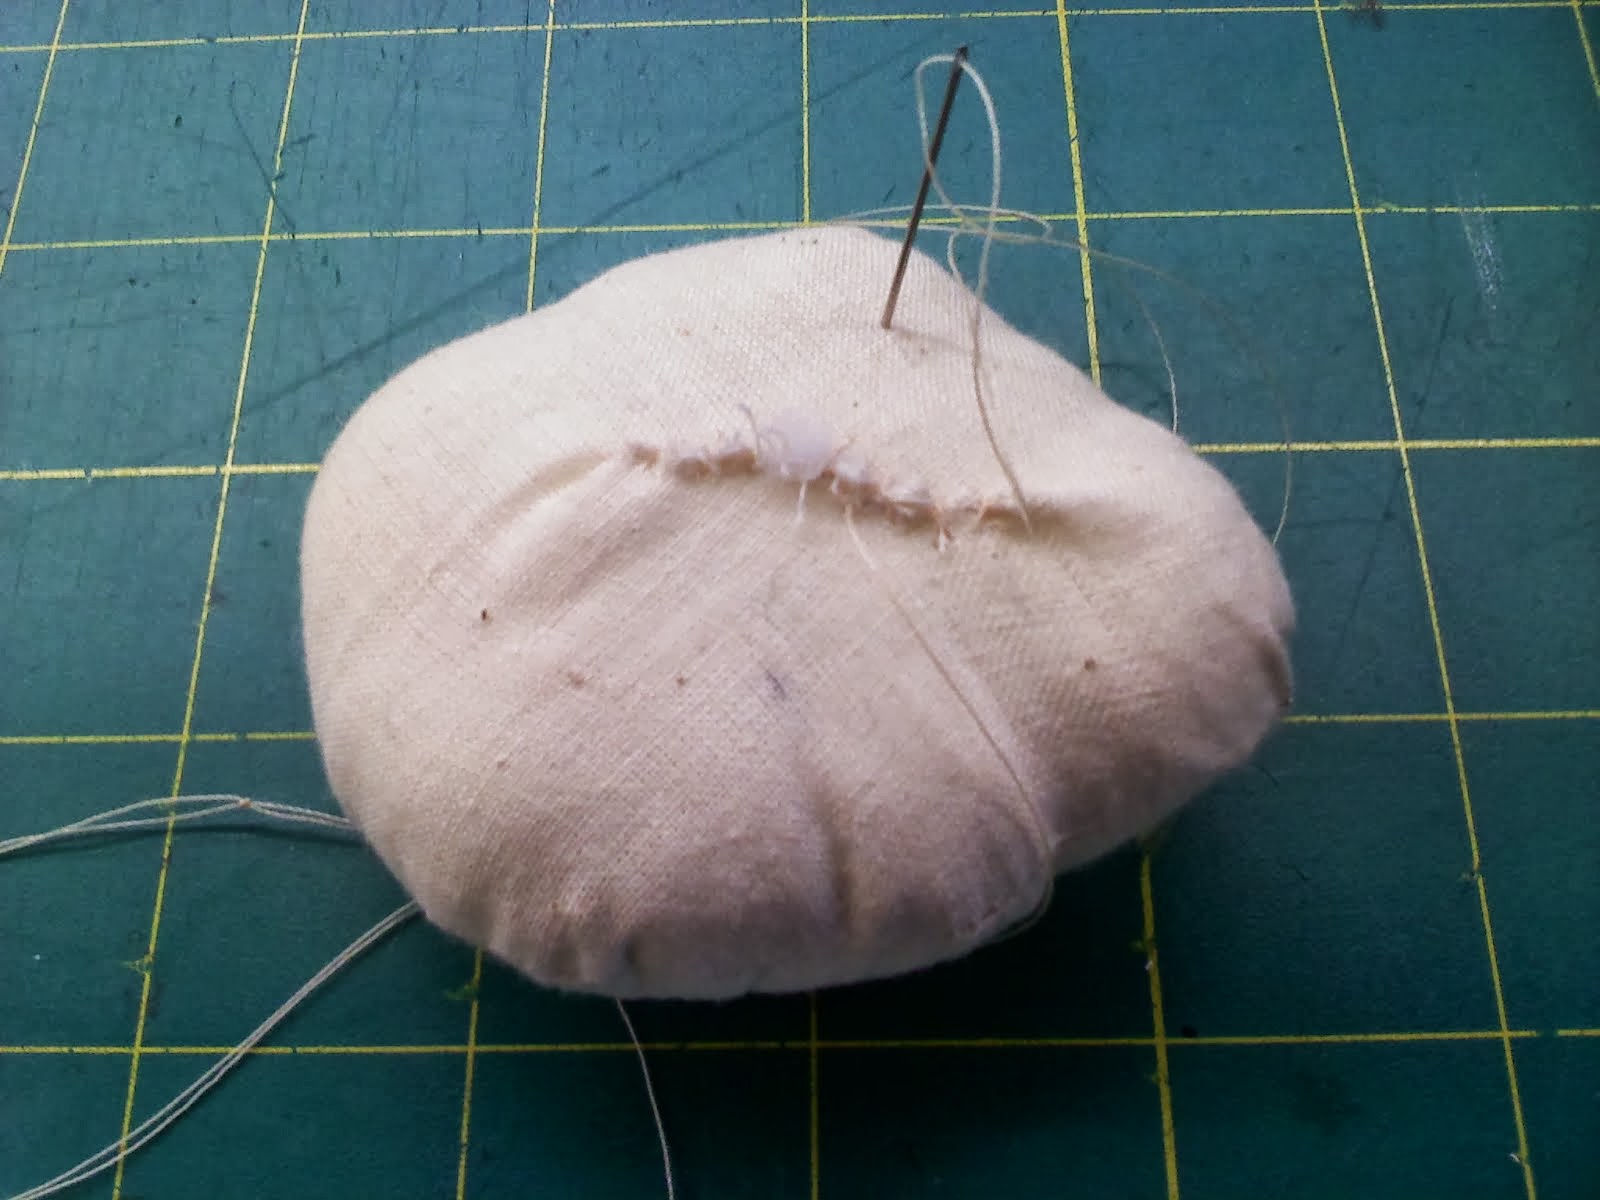
Now, by taking a heavier thread, we used pearl cotton. Tie a big knot and begin from the bottom, coming up through the center of the pumpkin, we will sew "sections" for our pumpkin.
We tried to give our pumpkin 6 sections. I would think you'd want to do at least 5, but see how this works out for you. When you are done stitching, try to end your stitching on the bottom and tie a big knot there as well. We kind of pulled our stitches after every section, to try to make it look puffy between the sections.
So, once your stitching is done, it's time to paint. You can make your pumpkins as orange or brown as you like. Our paint was thinned down slightly with water. You want to make sure you get paint in all the nooks and crannies.
So, here's a little patch of pumpkins, you can see different size circles, make different size pumpkins. You can sprinkle cinnamon on top of them, before the paint is dry if you like. For stems, have fun, you could use cinnamon sticks, felt, sticks, dowels, you pick. Glue those into the centers. How about adding a little pick of bittersweet, leaves and some moss around the top as well. Wouldn't a bowl full of these be great! Have fun with this and hope it gave you some good tips to use.


No comments:
Post a Comment