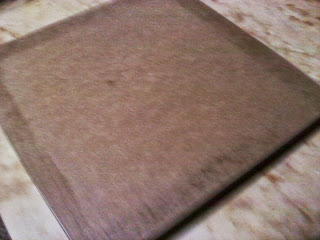
Ever see the beautiful backs of some stitcheries and there is paper on the back? Today we will show you how to give your work that 'professional' look. The supplies you will need: your finished work in a frame, brown paper bag or brown craft paper, glue, water, and sand paper or nail file.
So begin by measuring your picture and make sure that your paper bag or craft paper is bigger than this. Wet this bag or paper, here it can be kind of tricky, you want the piece wet enough, so it is thoroughly wet, but not so wet that it tears for you. Set this to the side. Then add white glue to the back of your frame, and thin this down with water. I usually wet my finger and smooth this out. You want to make sure you go to the edge of the frame, but be careful to not run over the side.

Here you can see that we have laid the stitched piece on the paper and there is plenty of wet bag/paper that we will NOT need to cover our back. Better to have too much than not enough. You don't want to pull your paper tight, but try to get out the creases and wrinkles. If you pull the wet paper too tightly, you can break your frame. Usually, we would have our piece flipped the other way, but have shown it this way to help you understand what we were talking about. So normally we would drape the wet fabric over the stitched piece, with the work faced down. Let dry thoroughly
When it is dry you will want to grab your nail file/sand paper. Gently run your sand paper along the edge of the frame, and as you sand, your paper from the bag will be cut off. Do this to all your sides.
Here several of the sides have been sanded.
And here all of them have been sanded, so if you would add a hanger you would be good to go.To add your hanger, find the center of your frame Try this sometime when you want to finish the back of your stitched piece.


No comments:
Post a Comment