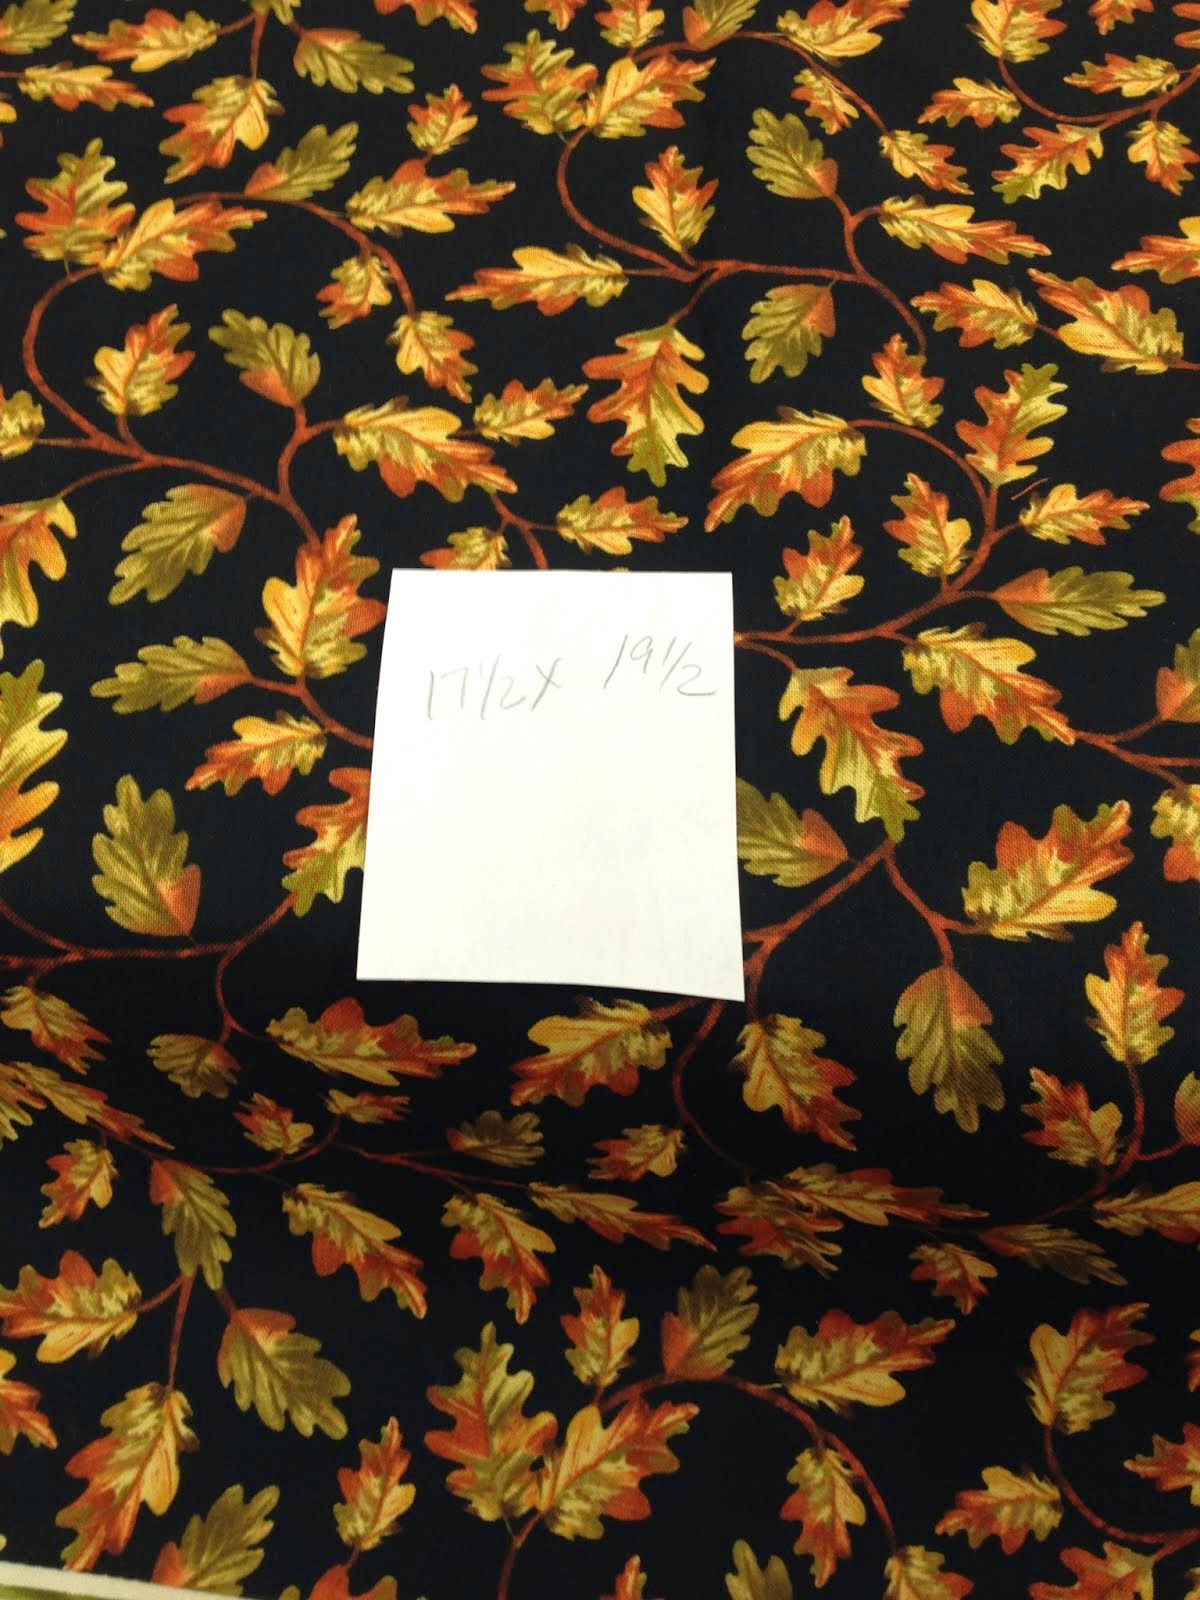
I'll tell you how I did this, but you may want to make changes with your border and center fabric. I used 1 yard of border fabric and 1 fat quarter for center. The center is the leaf fabric. First of all, take a good look at your border fabric, and decide how wide you want to make this be, once its finished, and what part do you want to touch the center. For this application, I wanted there to be some white or orange touching the center fabric, so that how I cut it. I also used a 1/4" seam allowance throughout.
So here's my fat quarter, I cut it to be 17 1/2"x 19 1/2".....why I don't know, I just got lucky with these numbers and how my border worked out. Math genius, I am not.
This picture is better in showing you how you can play with your borders and plan what touches what.
You will need to find the middle of the 17 1/2" side - I marked mine with a pin.
Here I'm getting the border ready, I marked where I wanted the seam to go..
And cut off the excess
Now mark the middle of this piece as well. Begin and end your sewing 1/4" from end. Repeat this process with all four sides. It might look funny, but we will be doing mitered corners. Be careful to do an exact 1/4" from each end.
So, this is what we want our mitered corners to look like. See how pretty! I actually folded from the front, so I was sure I was getting the corners going how I wanted them to.
This is what the back side looks like, if you are good and have done this before, you will know how to fold this and you won't need to peek on the front side. If you lay your work to make a triangle, your border pieces will lay across each other in the corners, This picture kind of shows you that. Using a 45 degree line, draw a line from the corner of your center to the outer edge of your border, here is where you will sew. You will do this to all four corners.
This is a close up of how the border and the center sewing turned out. Layering the batting and backing I machine quilted a 2" grid in the center of the topper. I cut 3" strips for my binding and sewed that on my machine. You could hand quilt the center if you liked. It isn't necessary to quilt this, you could also finish the edge, or sew a backing on by just sewing it on right sides together, leaving room for turning, and turn it right side out. Hopefully this helped you get ideas. My miter corner pictures aren't the best so you can check out videos on Youtube if you like.


No comments:
Post a Comment